Skip to content
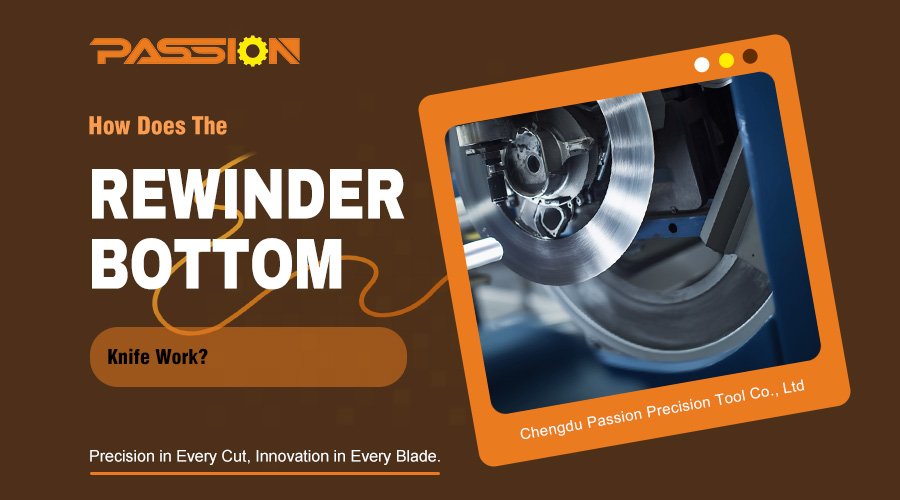
Struggling with messy cuts and material waste? Your rewinder's performance often hinges on one part: the bottom knife. Getting this wrong can ruin product quality and hurt your efficiency.
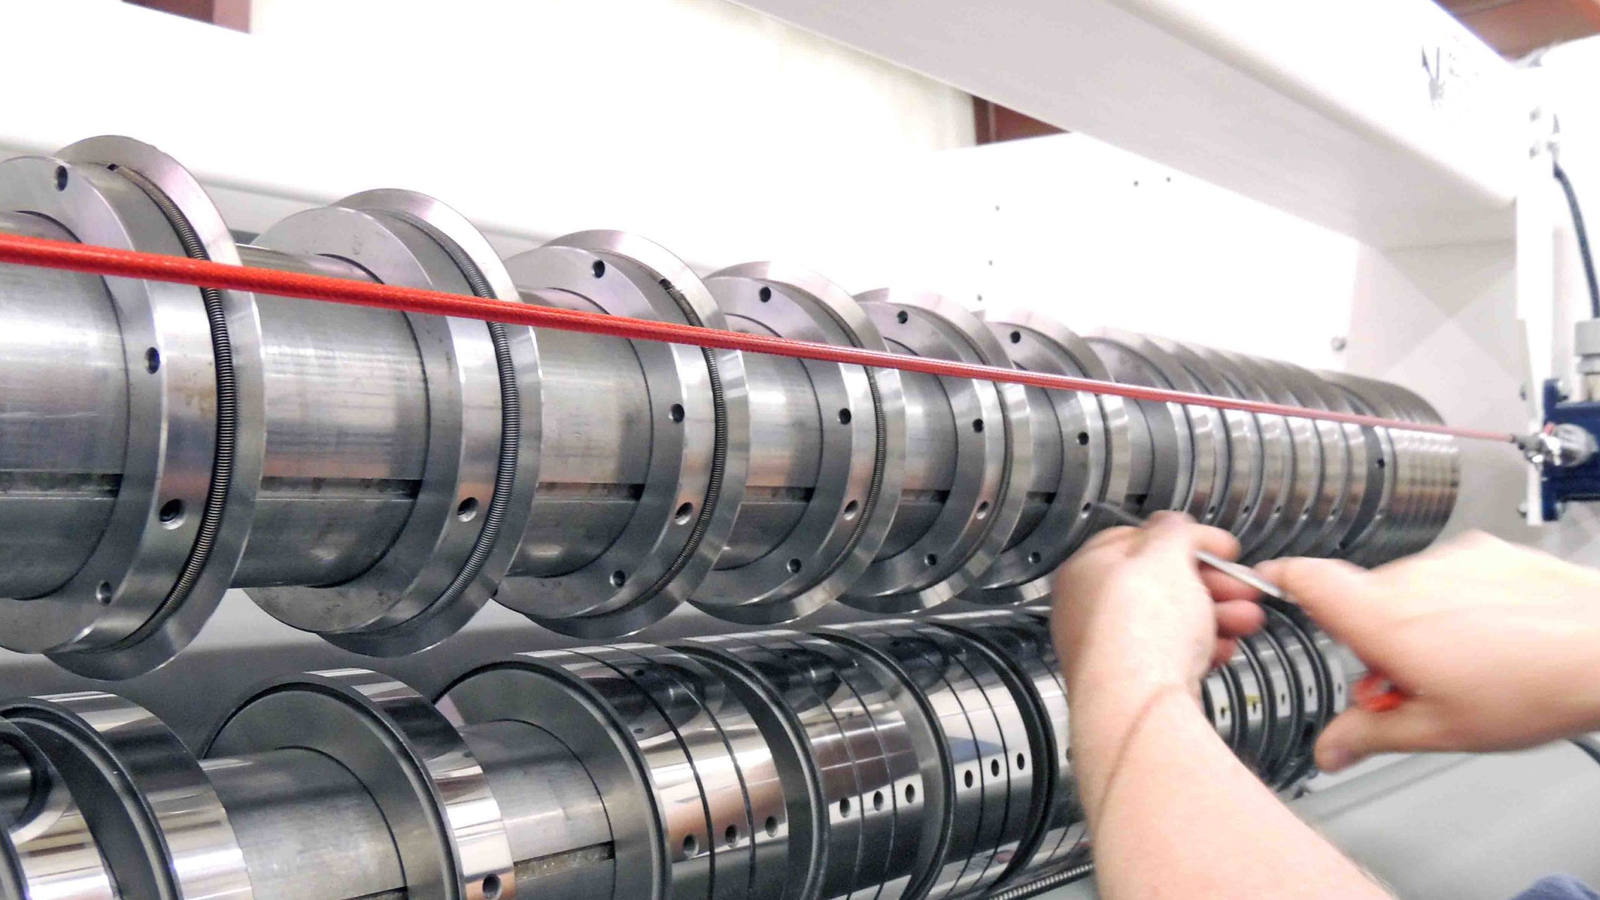
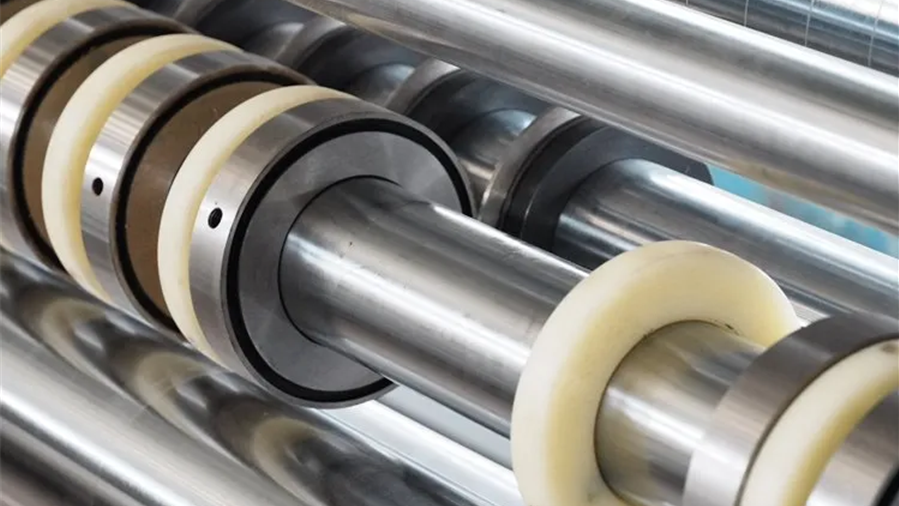
The rewinder bottom knife1 works with a rotating top knife to create a shear-cutting action2. The bottom knife likes a stationary anvil3. It firmly supports the material and provides a fixed cutting edge. As the top knife rotates against it, they form a scissor-like action4 that ensures a clean slit without deforming the material.This precise cooperation cleanly severs materials like film or paper as they pass through the tiny gap between the two blades.
That's the basic idea. But knowing the details can save you a lot of headaches and money. Let's explore how these essential components work and how you can get the most out of them. It's the key to turning frustrating problems into profitable, high-quality output.
Support and Stability
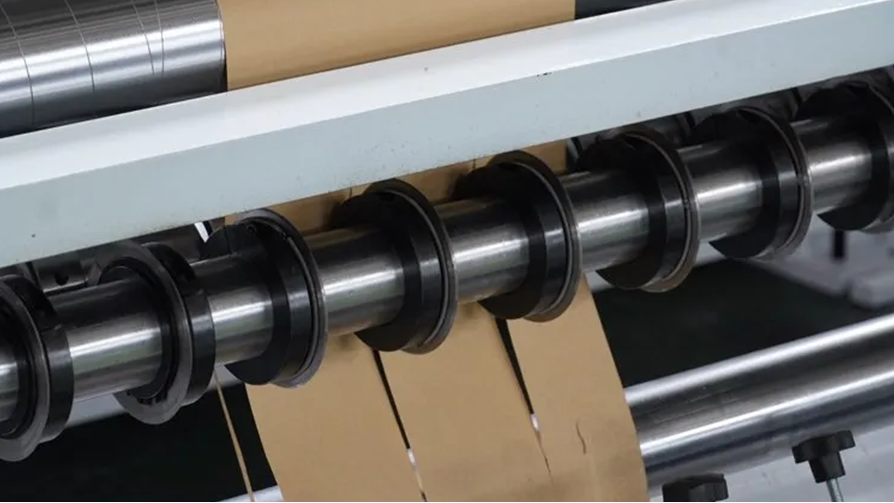
First, the bottom knife must provide a solid, stable base for the material right at the point of the cut. Imagine trying to cut paper in mid-air with scissors. It would just fold and tear. The bottom knife acts like the other half of the scissors, holding the material perfectly flat and still. For delicate materials, this support is everything. Without it, the film would vibrate and flutter, making a clean, straight cut impossible. The knife's rigid surface prevents the material from bending or escaping the cutting force, ensuring the cut happens exactly where it's supposed to.
Creating the Shear Point
Second, the bottom knife works with the top knife to create a precise shear point5. It isn't a passive component. It actively forms one of the two cutting edges. The top knife (or circular knife) spins and presses against the stationary bottom knife. The material is sheared cleanly in the tiny space where these two hardened edges meet. The quality of both the top and bottom knife edges directly impacts how clean that shear is.
To make it clearer, here is how they differ:
| Feature | Top Knife (Circular Knife) | Bottom Knife |
|---|---|---|
| Motion | Rotates at high speed | Stationary (fixed on a shaft) |
| Function | Provides the active cutting force | Provides support and a fixed cutting edge |
| Position | Positioned above the material | Positioned below the material |
| Role | The "blade" that moves | The "anvil" that supports |
Why Is Choosing The Right Bottom Knife Material So Critical?
Are your blades dulling too fast or chipping easily? Choosing the wrong material for your bottom knives is a common and costly mistake that directly impacts your production line's efficiency.
The right material ensures the blade lasts a long time and maintains cut quality. Hard materials like Tungsten Carbide resist wear, which is perfect for abrasive materials. The wrong material wears quickly, leading to burrs, dust, and frequent, costly replacements.
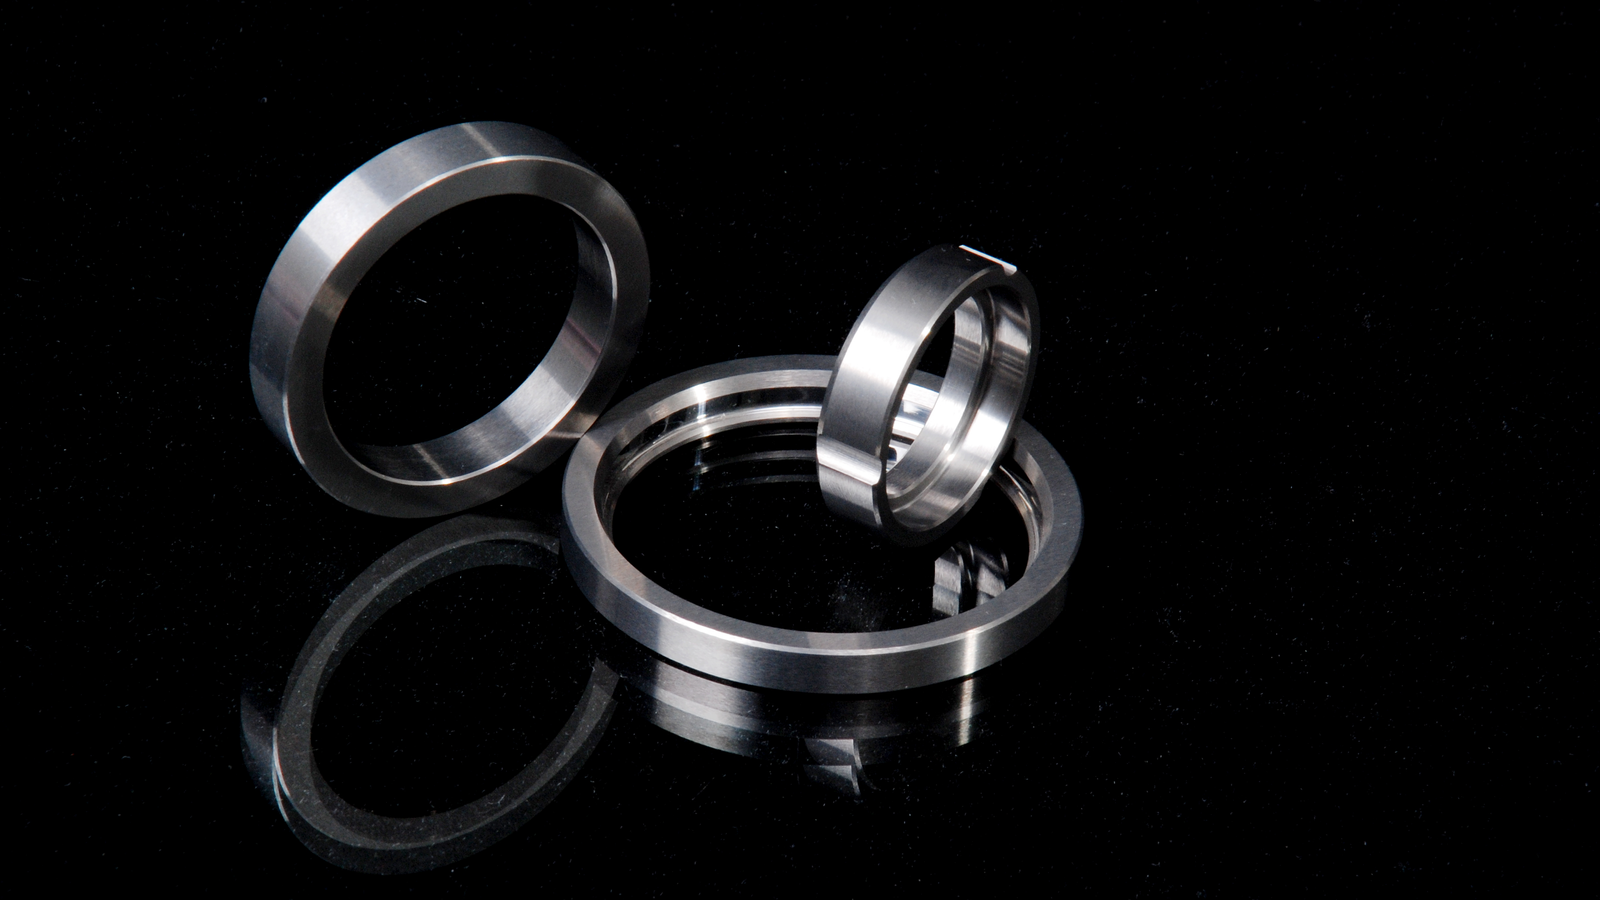
Think of a bottom knife's material as the foundation of its performance. A strong foundation leads to a reliable process. A weak one will cause constant problems. Every material you cut, whether it’s paper, plastic film, or metal foil, interacts with the blade differently. This is why a one-size-fits-all approach to knife material just doesn't work.
Common Bottom Knife Materials
At PASSION, we work with several high-performance materials. Each one has unique properties that make it suitable for specific jobs.
- D2 / SKD116: These are high-carbon, high-chromium tool steels. They offer a great balance of wear resistance and toughness. This makes them a very popular and cost-effective choice for general-purpose slitting of paper and some films.
- Cr12MoV7: This is another tool steel known for its good wear resistance and ability to hold a sharp edge. It is a reliable workhorse for many standard slitting applications.
- Tungsten Carbide8: This is an extremely hard and wear-resistant material. It is the best choice for cutting highly abrasive or tough materials, like fiberglass, certain non-wovens, and high-quality plastic films. It stays sharp much longer than tool steels, which means less downtime.
Matching Material to Application
The key is to match the blade to what you are cutting. For soft paper, a tool steel like D2 might be perfect. But for the plastic film, which contained abrasive additives, tool steel blades will be wearing out in days. The abrasive particles act like fine sandpaper, quickly dulling the cutting edge.
This chart shows how to think about choosing a material:
| Material | Hardness | Wear Resistance | Toughness | Best For Applications Like... |
|---|---|---|---|---|
| D2 / SKD11 | High | Good | Good | Paper, Cardboard, Standard Films |
| Cr12MoV | High | Good | Moderate | General Paper and Film Slitting |
| Tungsten Carbide | Very High | Excellent | Moderate | Abrasive Films, Foil, Non-wovens, Fiberglass |
While tungsten carbide bottom knives have a higher initial cost, their sharpness can last for weeks rather than days. Moreover, machine downtime caused by blade replacement is significantly reduced.
How Do You Set The Correct Gap Between The Top And Bottom Knives?
Are you getting frustratingly messy edges or dusty cuts? The nearly invisible gap between your knives is likely the reason. A tiny adjustment here can make a world of difference.
Setting the correct knife gap9, also known as the overlap or clearance, is crucial for a clean cut. The ideal setting depends on your material's thickness and type. Too much gap crushes the material; too little causes excessive blade wear and chipping.
Setting the blade gap is just as important as choosing the right material. Most people think of a "gap" as empty space, but in shear slitting, it’s more about the precise interaction between the top and bottom knives.
What Is The "Knife Interaction"?
For shear slitting to work perfectly, you need to control two things:
- Overlap (or Dive): This is how far the top knife's edge goes past the bottom knife's edge. A deeper overlap provides more cutting force10 but can also increase friction and wear.
- Side Force (or Cant Angle): The top and bottom knives are lightly pressed together side-to-side. This pressure ensures the edges stay in contact to create a clean shearing action, just like with a pair of quality scissors.
The combination of these settings creates the perfect "shear point."
Consequences of an Incorrect Setting
Getting the setup wrong leads to specific, predictable problems. I often ask customers to describe their bad cuts because the description tells me exactly what's wrong with their setup. It's a very common issue, so we prepared a simple troubleshooting guide for our customers.
| Problem | Likely Cause | What's Happening | Resulting Issue |
|---|---|---|---|
| Too Much Overlap | Top knife set too deep. | The knives are grinding against each other with too much force. | Premature blade wear, edge chipping, high motor load. |
| Too Little Side Force | Knives are not pressed together enough. | The material can be pulled between the blades instead of being cut. | Inconsistent cut, ragged or torn edges. |
| Too Much Side Force | Knives are pressed together too hard. | Extreme friction is generated between the blade edges. | Blade overheating, rapid dulling, potential blade fracture. |
Conclusion
A high-quality bottom knife and the correct setup are essential for perfect slitting. At PASSION, we deliver the precision blades and the expertise you need for a flawless cut every time.
Understanding the rewinder bottom knife's function can enhance your cutting efficiency and product quality. ↩
Explore the mechanics of shear-cutting action to improve your slitting process and reduce waste. ↩
Learn about the importance of a stationary anvil for achieving clean cuts in various materials. ↩
Discover how scissor-like action contributes to precision cutting in manufacturing. ↩
Understanding the shear point can help optimize your cutting setup for better results. ↩
Understand the properties of D2 and SKD11 materials for effective cutting applications. ↩
Learn about Cr12MoV's wear resistance and its suitability for various slitting tasks. ↩
Explore the benefits of Tungsten Carbide for cutting tools and its impact on production efficiency. ↩
Setting the correct knife gap is vital for clean cuts; find out how to do it right. ↩
Understanding cutting force is essential for optimizing your slitting process. ↩