Skip to content
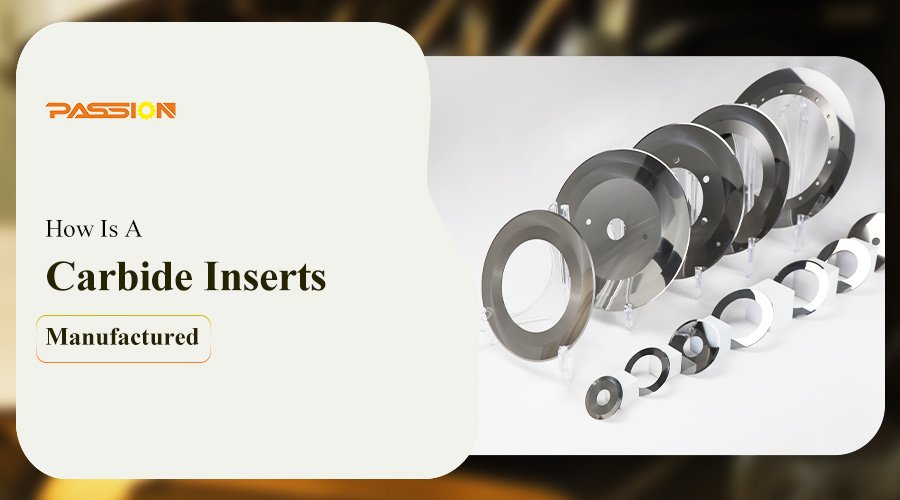
Carbide inserts are a big deal in the manufacturing industry. They’re known for being hard and durable. Understanding how they’re made can help you understand why they’re so good at cutting things. This article will break down the steps for you, so you can understand what you’re buying or just be a more informed carbide insert enthusiast.
A carbide insert is made through a series of precise steps. It starts with blending really tiny particles of tungsten carbide with a binder material, usually cobalt. The mix is then formed and compacted. After that, it’s heated to 1500 degrees Celsius for about 15 hours. This process is called sintering. It makes the cobalt and tungsten carbide particles melt and bond together. This makes a really strong and durable cutting tool.
Now, let’s dig into each step a little more so you can understand why these inserts are so awesome.
What Are The Raw Materials For Carbide Inserts?
The main ingredients in carbide inserts are tungsten carbide powder and cobalt. Tungsten carbide is used because it’s super strong and it doesn’t wear out very easily. Cobalt is used as a binder to hold the tungsten carbide particles together and make the insert tougher. The raw materials are chosen carefully and prepared to make sure they’re the best quality.
Tungsten Carbide Powder: This is the main cutting material used because it’s hard and it doesn’t wear out very easily. It stays sharp even when you’re cutting something really tough.
Cobalt: Cobalt is used as a binder to hold the tungsten carbide particles together. It makes the insert tougher so it doesn’t chip or break when you’re using it.
How Is Carbide Manufactured?
The manufacturing process starts with blending tungsten carbide particles and cobalt powders together. The goal is to create a mixture that is consistent throughout the insert. Here’s how it happens:
Blending and Mixing: The tungsten carbide powder and cobalt are mixed together in the right amounts. The mix is blended really well so the cobalt is spread out evenly throughout the tungsten carbide. This step is really important because it affects how the insert performs.
Molding and Compacting: Once the mix is ready, it’s put into molds and compacted. This step helps make the insert the right shape. It’s compacted under really high pressure so the particles get packed together really tight. That makes the insert denser and stronger.
Sintering Process And Heat Treatment
After the inserts are molded, they go through a heat treatment, which is a really important part of making the inserts. This process is called sintering. The inserts are heated to a temperature of about 1500 degrees Celsius. The whole process takes about 15 hours and does a few things:
Makes the Particles Stick Together: At this high temperature, the cobalt melts and acts like a liquid glue that holds the tungsten carbide particles together. This makes the insert really solid and dense.
Makes the Insert Harder: Sintering makes the carbide insert a lot harder. The high temperature makes the particles stick together tighter, so the insert can handle a lot of stress when you’re cutting with it.
Makes the Insert Less Porous: Sintering gets rid of the little gaps between the particles, which makes the insert stronger and more resistant to wear.
Grinding
After sintering, the carbide inserts are hard and durable but need to be shaped to the right dimensions. Grinding is a critical step in the manufacturing process that ensures each insert is the right size and shape to cut well. Here’s what grinding involves:
1. Shaping: The sintered inserts are now really hard, which means you can cut with them. But that hardness also means you have to use special grinding wheels to shape them. These wheels usually have diamond particles in them because diamonds are really good at cutting hard stuff. You grind the inserts to the right size and shape, like the right angles, radii, and sharpness on the edge. That’s important because it makes the insert cut better and more accurately.
2. Surface Finish: Grinding doesn’t just shape the insert, it also makes the surface smooth. A smooth surface makes it easier to cut stuff because there’s less friction. That helps the tool last longer and makes the finished part better. A high-quality surface finish on the insert helps the chips come out better, which means less heat builds up and the tool is less likely to break.
3. Edge Prep: One of the most important things about grinding is getting the cutting edge of the insert ready to cut. The edge has to be sharp enough to cut but strong enough to take the forces it sees when you’re machining. Grinding lets you make different edge shapes, like sharp, chamfered, or honed, depending on what you’re doing. A honed edge, for example, can help keep the insert from chipping, which makes it last longer.
4. Tight Tolerances: When you grind, you have to make sure you hold tight tolerances. That means you have to make sure each insert is the right size within a really small amount. That’s important because even a little bit off can mess up how the insert works. It can make the part you’re machining have a bad surface finish or make the tool wear out faster. That’s why you use CNC grinding machines to get it right every time.
5. Quality Control: After you grind an insert, you have to check it to make sure it’s right. That means you check the size, the edge quality, and the surface finish. If it’s not right, you fix it or throw it away. That way, you make sure you only send the best inserts to your customers.
6. Coolant: When you grind, you make a lot of heat because the grinding wheel rubs against the carbide. To keep the inserts from getting too hot and to make the grinding go smoothly, you use coolant. The coolant helps keep the insert from getting too hot and cracking or changing size.
7. Multi-Stage Grinding: Sometimes, you have to grind an insert in more than one step to get it to the final shape and finish. You start with rough grinding to get rid of the extra material and get the basic shape. Then you do finer grinding steps to get the right size and make the surface finish better. Each step uses different grinding wheels and ways of grinding to get the right stuff.
Final Shaping And Coating
Once the grinding is done, the inserts might go through more finishing operations to make them just right. Depending on what you’re doing, you might put a coating on the insert to make it last longer. Some common coatings are titanium nitride (TiN) and diamond-like carbon (DLC). These coatings make the insert cut better.
Understanding the manufacturing process of carbide inserts shows you how much care and precision goes into making these important tools. Each step, from picking the right raw materials to sintering, grinding, and coating, makes sure the final product is tough, reliable, and perfect for cutting with precision. By paying attention to all the little details of the manufacturing process, manufacturers can make sure they make really good, reliable products that do what they’re supposed to do in the real world.