Skip to content
Struggling with damaged blades after sharpening? Incorrect pressure wastes money and time. Mastering the right force is simpler than you think and can save your blades.
There is no single correct pressure for sharpening industrial blades. The ideal force depends on the blade material, grinding wheel, and sharpening stage1. Applying dynamic, controlled pressure is crucial for a quality edge and longer blade life.
The right pressure is not a single number, but a strategy. Getting it wrong can be incredibly costly, not just in ruined blades but also in production downtime. Let's break down why applying the wrong force is so damaging and explore the professional way to get it right every single time. It's a skill that directly impacts your bottom line.
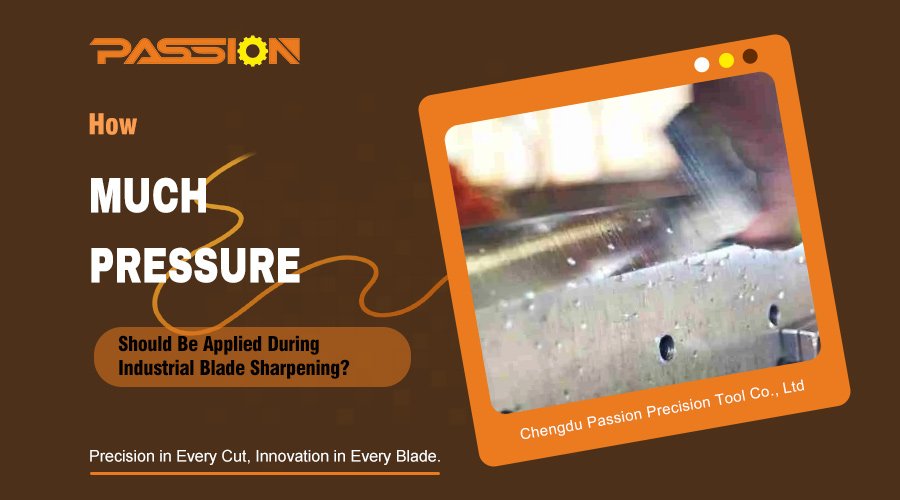
What Happens If You Apply Too Much Pressure?
Are your blades cracking or dulling too fast? Excessive sharpening pressure might be burning away their performance and your profits. Let's identify and stop this costly mistake.
Applying too much pressure overheats the blade's edge. This can cause micro-cracks2, soften the steel, and ruin its temper. It leads to a brittle, weak edge that fails quickly and also wears down your grinding wheel much faster.
I often speak with clients who are frustrated with short blade life, and excessive sharpening pressure3 is a common problem. One client in the textile industry, let's call him Klaus from Germany, was burning through expensive high-speed steel (HSS) blades. His team applied excessive pressure to sharpen the blades in an effort to speed up the process. This extra force was generating immense heat right at the cutting edge. Heat is the enemy of a hardened steel edge. It can ruin the blade's temper, making a once-strong edge soft and useless. For even harder materials like tungsten carbide, that heat shock can create tiny, invisible cracks that lead to catastrophic failure during operation.
Heat Damage and Material Integrity
When you apply too much force, the friction creates a surge of heat. This heat can locally anneal, or soften, the blade's edge. This completely undoes the complex heat-treatment process that gave the blade its strength. The result is an edge that dulls almost immediately. Furthermore, the rapid heating and cooling cycle introduces stress into the material, which is a primary cause of micro-cracks. These cracks are the starting point for chipping and major edge failure.
Grinding Wheel Wear And Safety
The damage isn't limited to your blade. Excessive pressure forces the grinding wheel to work too hard. It breaks down the abrasive grains faster than intended, leading to premature wheel wear and costing you more in consumables. More alarmingly, it can cause the wheel to glaze over or even create enough stress to cause it to fracture. A shattering grinding wheel is a serious safety hazard in any workshop. Proper pressure protects both your tooling and your team.
Is Using Too Little Pressure A Safer Bet?
Trying to be careful by using light pressure? You might be wasting time and creating an uneven edge. This gentle approach can actually fail to sharpen the blade properly.
While safer than excessive force, too little pressure is highly inefficient. The grinding wheel merely polishes or glazes the surface instead of cutting. This results in an uneven, poorly formed edge and significantly extends the sharpening time.

Taking a "too careful" approach can create its own set of problems. I remember a case with my client, who manages a large paper mill in Brazil. His team was tasked with resharpening their slitter blades. Worried about overheating them, they used extremely light pressure. The result was blades that looked shiny but simply wouldn't cut cleanly, leaving a rough, dusty edge on their paper rolls. They spent hours on each blade, but the grinding wheel was just rubbing the surface instead of creating a new, sharp edge. It was a classic case of inefficiency leading to poor quality.
The Problem Of Inefficiency
The primary goal of sharpening is to remove worn material to expose a fresh, sharp edge. This requires a certain amount of pressure to allow the abrasive grains of the wheel to bite into the metal. If the pressure is too low, the grains can't dig in. Instead, they just slide across the surface. This dramatically increases the time it takes to sharpen a blade, which means more labor costs and longer machine downtime. What should be a quick maintenance task can turn into a major bottleneck.
Compromised Edge Quality
When a grinding wheel just rubs the surface, it doesn't create a clean, well-defined bevel. Instead, it can round the edge or create an inconsistent angle. This is because the wheel isn't cutting, but rather burnishing or pushing the metal around. A blade sharpened this way may feel sharp to the touch, but it lacks the geometric precision needed for clean industrial cutting. It will crush rather than slice, leading to poor product quality and requiring even faster resharpening.
How Should Pressure Change During Different Sharpening Stages?
Do you use the same pressure from start to finish? This common mistake can ruin a perfectly good blade. A multi-stage approach is essential for a professional, durable edge.
Sharpening pressure must decrease as you progress. Start with medium pressure for rough grinding to remove material. Switch to light pressure for fine grinding to shape the edge. Finally, use very light pressure for polishing to achieve a smooth finish.
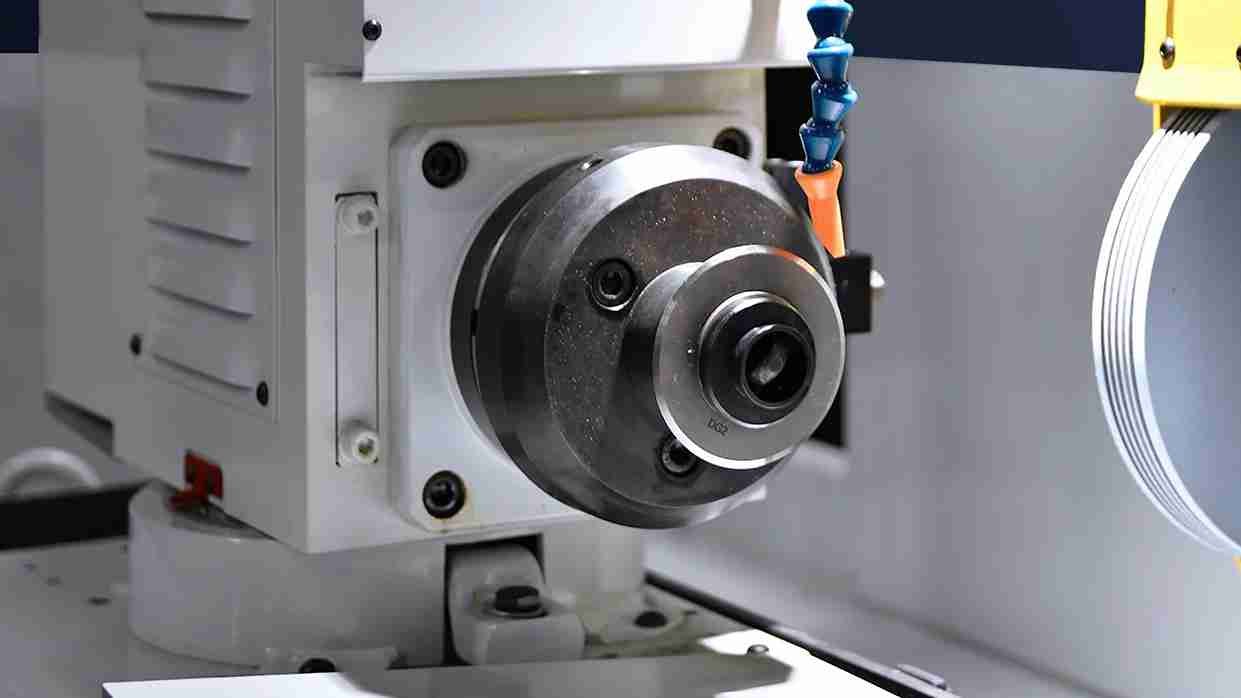
The concept of adjusting pressure is fundamental to achieving a high-quality edge. You wouldn't use a sledgehammer for fine carving, and the same logic applies here. Each stage of sharpening has a different goal, and the pressure you apply must reflect that. At PASSION, our manufacturing process relies on this principle. We use computer-controlled grinders that precisely vary the pressure to create the durable, razor-sharp edges our customers expect. You can apply the same logic in your own workshop to get far better results. A staged approach ensures both efficiency and quality.
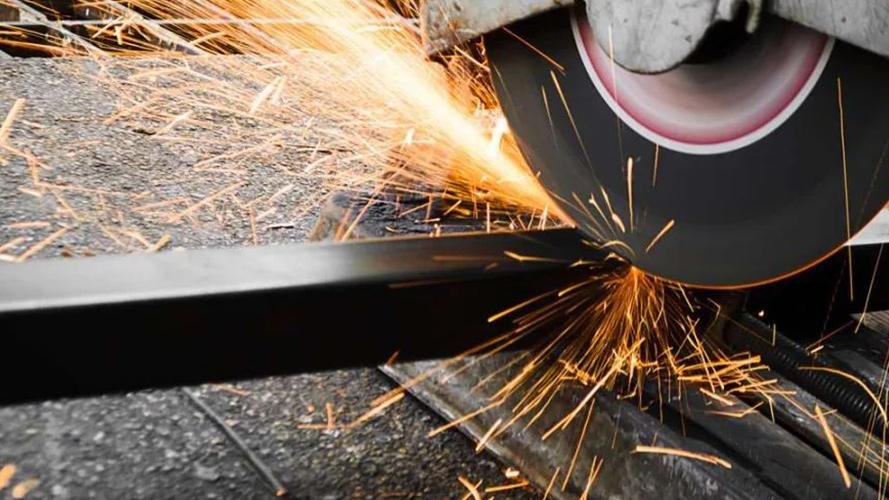
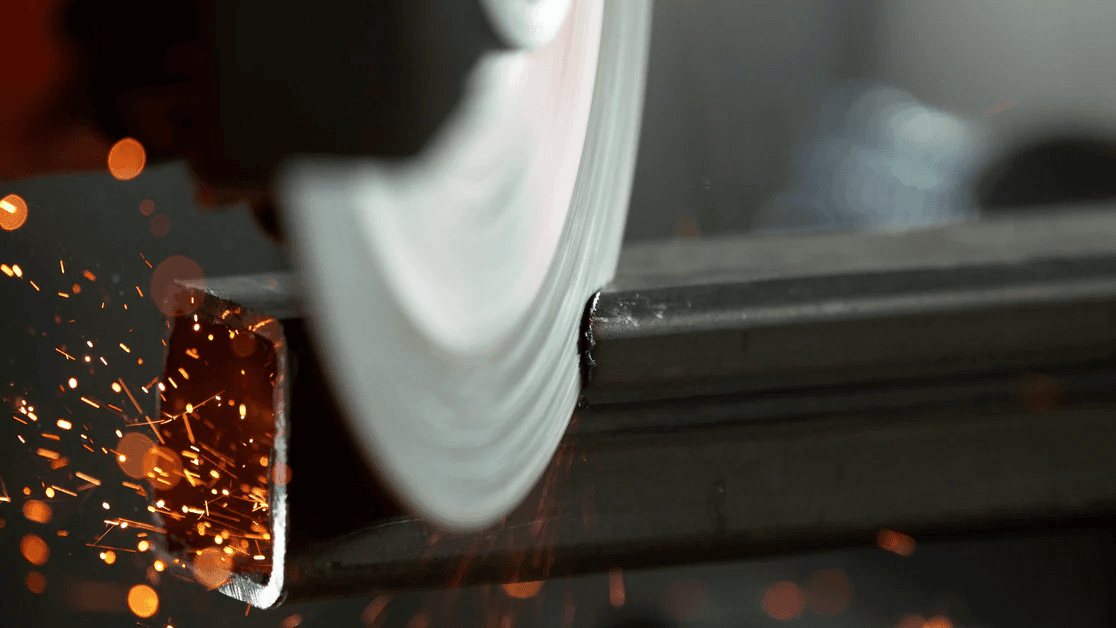
Stage 1: Rough Grinding
The goal here is bulk material removal. You need to grind away the worn, rounded part of the edge to establish the basic bevel. This is where you use medium, assertive pressure. The force should be enough for the wheel to cut effectively without generating excessive heat. A good indicator is a steady stream of sparks, but the blade should never get too hot to touch.
Stage 2: Fine Grinding
Once the basic shape is formed, the goal shifts to refining that edge. Here, you must reduce the pressure significantly. You are no longer removing large amounts of material but are smoothing out the rough surface left by the first stage. This light pressure gives you more control to create a precise and consistent edge angle.
Stage 3: Polishing Or Honing
For many high-precision applications, like film slitting or foil cutting, a final polishing or honing4 step is needed. The pressure here is extremely light. You are simply removing the microscopic scratches to create a mirror-like, ultra-smooth edge. This reduces cutting friction and dramatically extends the blade's working life.
| Sharpening Stage | Primary Goal | Recommended Pressure | Visual Cue |
|---|---|---|---|
| Rough Grinding | Remove worn material, establish geometry | Medium | Steady sparks, no discoloration |
| Fine Grinding | Refine the edge, improve surface finish | Light | Fewer sparks, consistent sound |
| Polishing/Honing | Create a mirror finish, remove scratches | Very Light | Minimal sparks, quiet operation |
Why Is Consistent Pressure More Important Than The Exact Amount?
Ever get an edge that's sharp in some spots but dull in others? Fluctuating pressure during sharpening is often the culprit. Let's fix this for a uniformly perfect cut.
Consistent pressure ensures the grinding wheel removes material evenly along the entire blade edge. Fluctuations create an uneven bevel, high and low spots, and internal stress. A steady hand or automated system is key to a reliable cutting edge.
Ultimately, the single most important factor is consistency. You can have the perfect pressure for each stage, but if you can't apply it evenly, the final result will be a poor-quality edge. Think about cutting a delicate material like plastic film. If the blade has high and low spots, it will stretch or tear the material instead of slicing it cleanly. The machine applies perfectly steady pressure from one end of the blade to the other, creating a geometrically perfect edge that is impossible to replicate by hand.
Conclusion
Mastering sharpening pressure is about adapting your force through stages and keeping it consistent. This strategy protects your blades, improves efficiency, and ensures a perfect cut every time.
Learn about the various sharpening stages to apply the right pressure at each step for better results. ↩
Understanding micro-cracks can help you prevent blade failure and maintain cutting efficiency. ↩
Find out how excessive pressure can ruin blades and lead to costly repairs or replacements. ↩
Learn the distinctions between polishing and honing to achieve the best finish for your blades. ↩