Skip to content
Are you tired of dealing with burrs and uneven cuts? Incorrect knife pressure not only wastes material but also wears down your blades too fast. Following a simple adjustment process can solve this.
To adjust the pressure of a slitting knife, always start with a low setting, about 70-80% of the expected pressure. Then, perform a test cut and observe the quality. Gradually increase the pressure until the cut is clean and complete, checking the blade regularly for signs of excessive wear.
Getting the pressure just right is a mix of science and experience. It is the single most important setting for achieving a perfect cut and getting the most life out of your blades. Let's explore the key factors you need to consider before you even touch that dial, as this knowledge is the foundation for making the right adjustments.
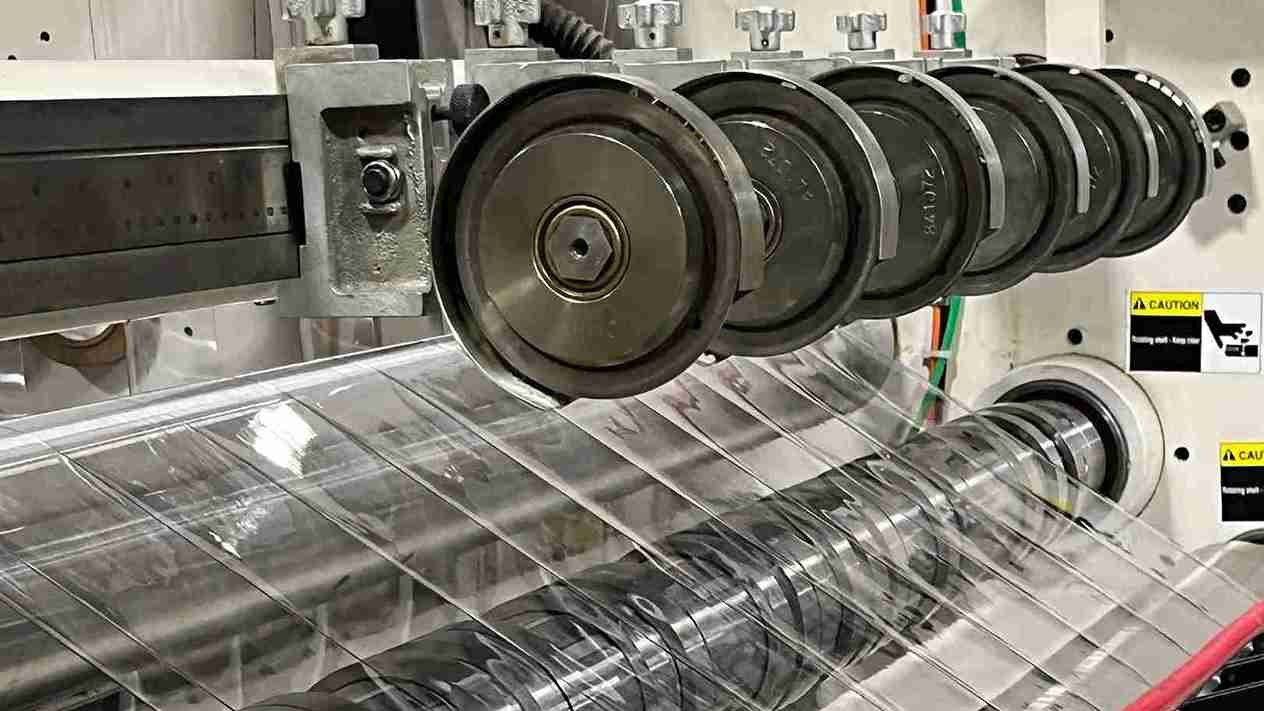
What Are The Factors That Affect The Pressure Of The Slitting Knife On A Slitting Machine?
Do you adjust your slitter knife pressure but still get inconsistent results? Unseen factors could be undermining your efforts and costing you in material and blade life. Understanding these variables is key.
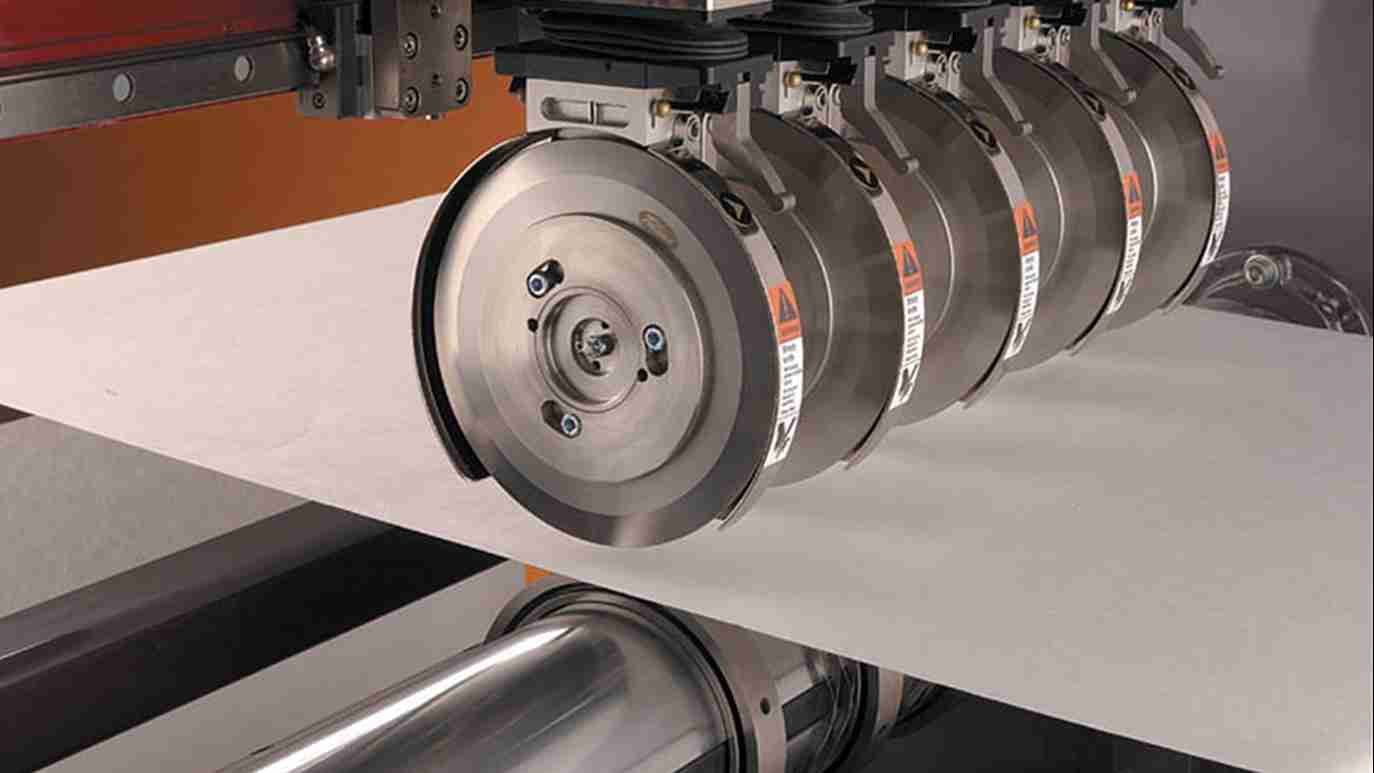
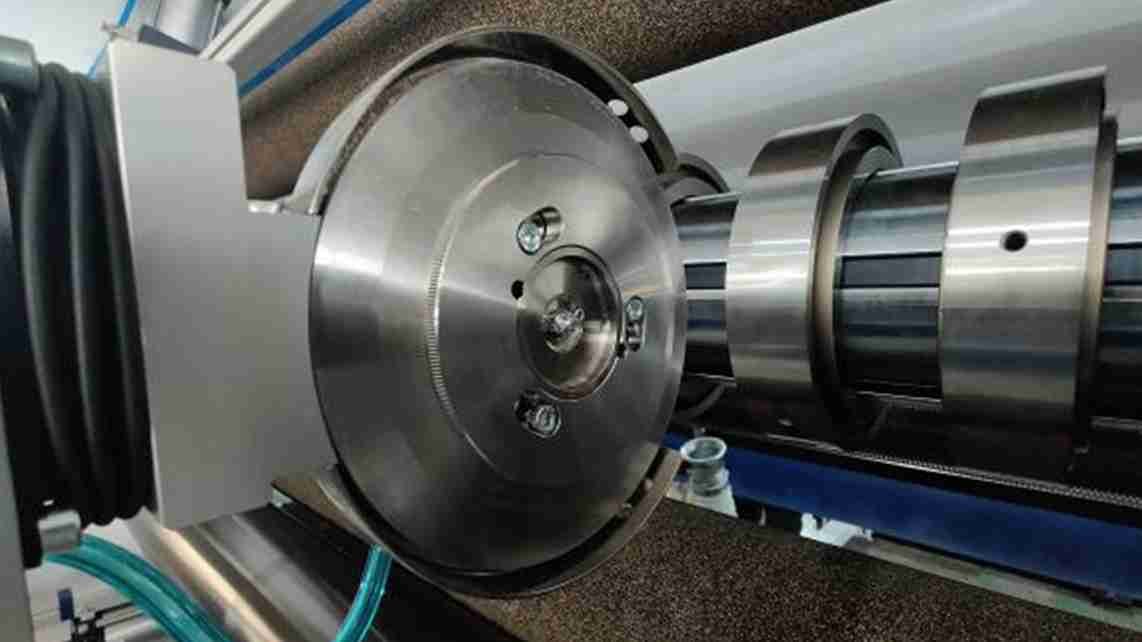
The main factors affecting slitting knife pressure1 are the material's type, thickness, and hardness. In addition, the slitting machine2's speed and the condition of the blade itself play a critical role. Each factor requires a unique pressure setting for optimal results.
![]()
I remember a client, Jane from Italy, who worked with a variety of plastic films. He was getting frustrated because the settings that worked perfectly one day would produce terrible results the next. He thought his machine was faulty. When we talked, I asked him about the materials. It turned out he was switching between a soft, flexible PE film and a much harder PET film without changing his pressure settings. The hard PET film needed more pressure, but he was using the same setting for both. This simple oversight was the source of all his problems. Once we established a simple rule to check the material first, his quality became consistent. His story shows why understanding these background factors is so important.
Key Influencing Factors
- Material Properties: Every material is different. A soft plastic film requires much less pressure than a thick paperboard or a thin metal foil. The material’s hardness, thickness, and tensile strength are the first things you should consider.
- Machine Speed: Running your machine faster often generates more heat and friction. Sometimes, you may need to slightly increase the pressure to ensure a clean cut at higher speeds. However, for some sensitive materials, you might need to decrease it. Always test after changing speed.
- Blade Condition: A brand-new, sharp blade is very efficient. It needs less pressure to make a clean cut. As the blade wears down and becomes dull, you will have to gradually increase the pressure to get the same result. This is why regular blade inspection is so important.
Here is a simple table to help visualize this:
| Factor | Low Pressure Needed | High Pressure Needed |
|---|---|---|
| Material Type | Soft, thin films (e.g., PE) | Hard, thick materials (e.g., Paperboard, PET) |
| Material Gauge | Thinner materials | Thicker materials |
| Machine Speed | Slower production speeds | Faster production speeds |
| Blade Condition | New, sharp blades | Worn, dull blades |
What Is The Correct Step-By-Step Process For Setting The Knife Pressure?
Are you worried about damaging a new set of blades or the machine with the wrong settings? One incorrect adjustment can lead to expensive downtime and wasted material. Following a proven process removes the guesswork.
The correct process involves four steps. First, start with a low pressure setting. Second, run a short test cut and carefully inspect the result. Third, check the blade for wear. Fourth, optimize the pressure and blade gap3 for the perfect cut.
This four-step method is what I teach every new customer, and it works every time. A new partner of ours in Mexico, a large packaging company, had just invested in a set of our premium tungsten carbide blades4. Their operator, eager to start production, set the pressure to the maximum, thinking "more is better." Within an hour, they called me because the blades were already showing signs of chipping. They had skipped the most important step: starting low and testing. We walked through this exact four-step process over a video call. By starting at 70% and making small, incremental adjustments5, they found the perfect pressure point. Not only did their cut quality improve, but the rest of their blades lasted for months. It’s a powerful lesson in how a careful process protects your investment.
A Deeper Look At The 4 Steps
-
Step 1: Start With a Low Pressure Setting When you install new blades or switch to a new material, always start low. A good rule of thumb is to set the pressure to about 70-80% of what you think the final pressure will be. This is a safety measure. It prevents you from applying too much force right away, which can chip or crack the blade edge. It’s better to make a cut that isn't perfect and increase pressure than to damage a blade from the start.
-
Step 2: Perform a Test Cut and Observe Once you have your initial low pressure set, run the machine for a short period with a sample of the material. Then, turn it off and look closely at the cut edge. Are there sections that are not fully cut through? Is the material tearing instead of being sliced cleanly? Are there rough edges or burrs? An incomplete cut is a clear sign that you need to increase the pressure slightly.
-
Step 3: Check the Blade for Wear and Heat After a few tests, it is also wise to inspect the blade itself. Feel the knife to see if it's getting unusually hot. Look at the edge for any signs of uneven wear or discoloration. Heat and uneven wear are classic symptoms of too much pressure or an incorrect blade gap. If you see this, you need to re-evaluate your settings before continuing.
-
Step 4: Optimize Pressure And The Blade Gap Now you can begin the fine-tuning process. Increase the pressure in small steps, performing a test cut after each adjustment. Continue until you achieve a perfectly smooth, clean cut with no defects. At this point, you have found the optimal pressure6. This is also a good time to check your blade gap (the clearance between the top and bottom knives), as pressure and gap work together to produce the final result.
How Do You Know If The Slitting Knife Pressure Is Too High Or Too Low?
Are you unsure if your cutting problems are from too much or too little pressure? Misdiagnosing the issue can make the problem worse, leading to more wasted time and resources. Knowing the signs is crucial.
If the pressure is too low, you will see an incomplete cut, torn edges, or material bunching. If the pressure is too high, you will get a crushed edge, blade overheating, excessive dust, and rapid blade wear or chipping.
Learning to read the signs is like a mechanic listening to an engine. With experience, you can identify the problem instantly.
Reading the Signs: A Simple Guide
It's helpful to have a clear checklist of what to look for. Think of yourself as a detective at the slitting machine. The material and the blade will give you all the clues you need.
-
Symptoms of Too Little Pressure:
- Incomplete Cut: The most obvious sign. The blade doesn't slice all the way through the material.
- Tearing or Fraying: Instead of a clean slice, the material looks ripped or has frayed edges. This is common with textiles and non-wovens.
- Material Wandering: The material may not track straight through the blades, causing inconsistent slit widths.
- Jagged Edges: The edge looks rough and saw-toothed instead of smooth.
-
Symptoms of Too Much Pressure:
- Crushed or Deformed Edge: The edge of the material looks flattened, compressed, or rolled over. It might feel hard or look shiny.
- Excessive Dust or Debris: Too much pressure pulverizes the material, creating more cutting dust7 than normal.
- Blade Overheating: The knives become hot to the touch. This extreme friction rapidly degrades the blade's cutting edge.
- Premature Blade Chipping or Dulling: If your blades wear out much faster than expected, excessive pressure is the most likely cause. The blades are under constant stress, leading to microscopic fractures.
Here is a quick reference table:
| Symptom | Likely Cause | Solution |
|---|---|---|
| Material is torn, not cut | Pressure too low | Increase pressure slowly |
| Cut edge is crushed or shiny | Pressure too high | Decrease pressure |
| Lots of cutting dust | Pressure too high | Decrease pressure |
| Inconsistent cut depth | Pressure too low | Increase pressure slowly |
| Blades get hot quickly | Pressure too high | Decrease pressure, check gap |
| Blades wear out very fast | Pressure too high | Decrease pressure |
Conclusion
In summary, mastering slitting knife pressure adjustment is simple. Start low, test your cuts, and watch for signs of too much or too little force to ensure quality and blade longevity.
Understanding how to adjust slitting knife pressure can significantly improve your cutting efficiency and blade life. ↩
Familiarizing yourself with slitting machine components can help you optimize their use. ↩
Understanding blade gap is essential for achieving the best cutting results. ↩
Exploring the benefits of tungsten carbide blades can help you make informed purchasing decisions. ↩
Incremental adjustments can lead to more precise cuts and extend blade life. ↩
Finding the optimal pressure is key to maximizing blade life and achieving clean cuts. ↩
Excessive cutting dust can signal issues with pressure settings that need to be addressed. ↩