Skip to content
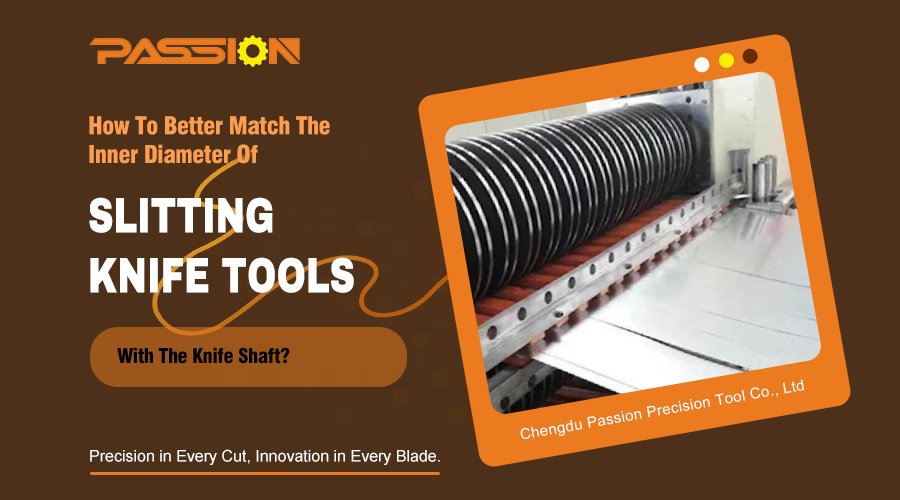
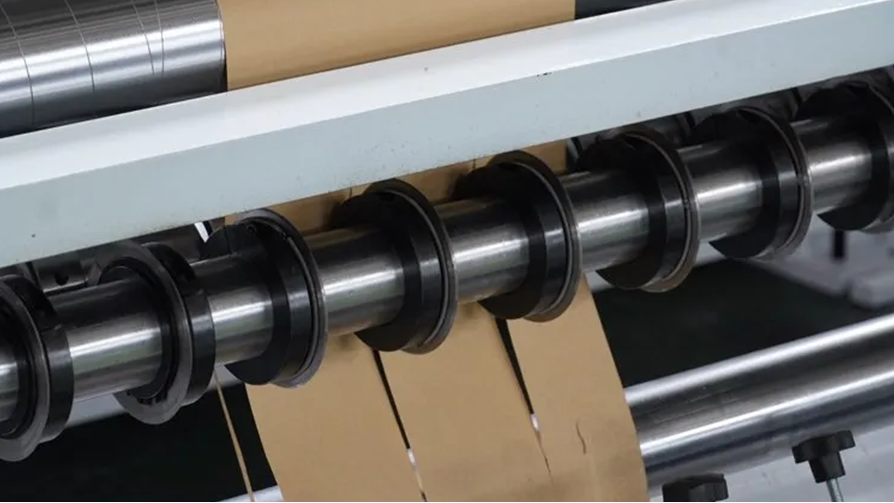
Are you struggling with poor cutting quality and frequent machine downtime? This frustration often comes from a simple, overlooked detail: the fit between your slitting knife and the knife shaft1.
Getting the fit right is the key to precision. It requires matching the knife's inner diameter2 to the shaft's outer diameter3 with the correct tolerance, often a clearance of 0.002mm-0.005mm. This ensures stability during high-speed rotation without making installation impossibly tight.
You now know the quick answer, but achieving this perfect fit involves much more than just numbers. It’s about understanding specific tolerance standards4, choosing the correct mounting method5, and maintaining clear communication between everyone involved. Let me walk you through how you can ensure this precision every single time and what happens when you don't. It's a lesson I've learned many times over while helping customers solve their cutting problems.
Why Is The Tolerance Between The Knife And Shaft So Critical?
Have you ever seen wavy edges or frustrating burrs on your slitted material? It's a costly problem that wastes material and time, and the cause is often a microscopic gap.
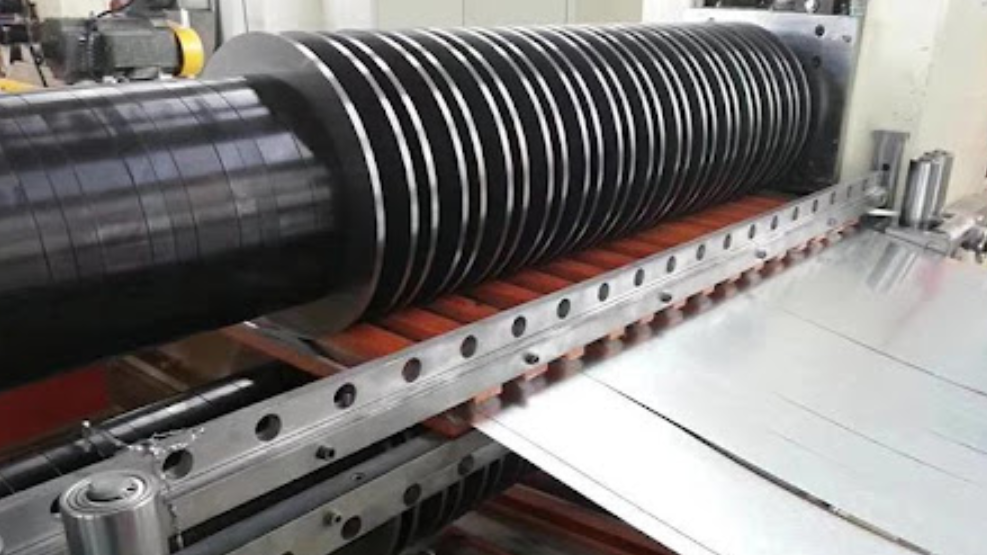
The tolerance is critical because it controls the blade's stability on the shaft. An incorrect gap, either too big or too small, directly leads to poor cut quality, difficult installation, and potential damage to both the blade and the machine itself.
The fit between the knife and shaft is the foundation of your entire slitting process. Let's break down exactly what goes wrong when this foundation isn't solid. I remember working with a client in the film industry who was struggling with inconsistent slit widths. They had blamed their material and even blade sharpness, but the real culprit was an inconsistent fit across their set of knives.
The Risks Of An Incorrect Fit
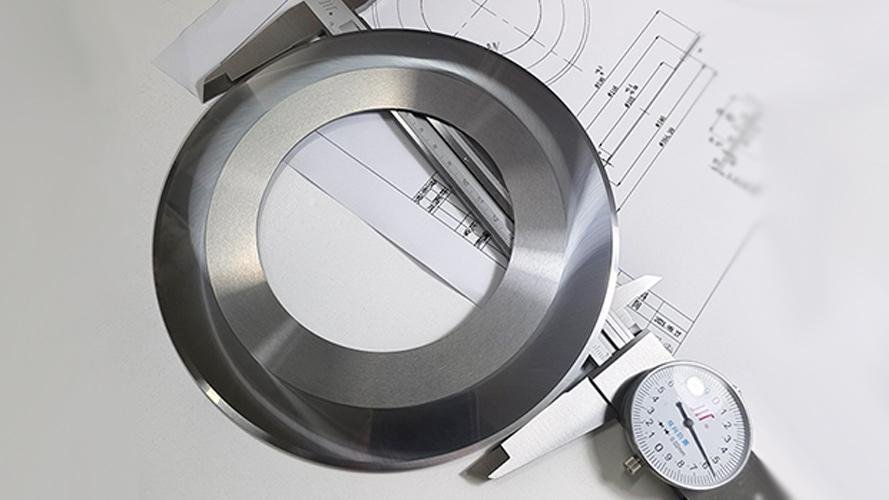
The relationship between the knife's inner diameter (bore) and the shaft's outer diameter is defined by tolerance. In precision industries, we often use a standard system. For this application, the shaft should ideally have a C6 tolerance6, and the knife's bore should have an H6 tolerance7. This creates a very small, controlled clearance fit. Here’s what happens when that fit isn't right:
| Issue | Consequence |
|---|---|
| Gap is Too Large | The knife can "jump" or wobble on the shaft during rotation. This is called runout8. It leads to crooked cuts, rough edges, and uneven tension in the final product. |
| Gap is Too Tight | The knife is extremely difficult to install and remove. Worse, as the machine runs and heats up, thermal expansion can cause the knife to seize on the shaft, leading to cracks in the blade or damage to the shaft. |
The sweet spot is a tiny gap, usually between 0.002mm and 0.005mm. This is just enough space to allow for smooth assembly and account for slight thermal expansion, but tight enough to prevent any movement or vibration during high-speed operation. Getting this right is the first step to achieving a perfect cut.
What Are The Different Mounting Methods And Which One Is Right For You?
Choosing a high-quality blade is one thing, but how you mount it is just as important. The wrong mounting method can cancel out all the benefits of a perfectly manufactured blade.
Common mounting methods include press-fit9, taper lock10, and quick-clamping systems11. The best one for you depends on your needs for precision, stability, and how often you need to change blades. Each method offers a different balance of performance and convenience.
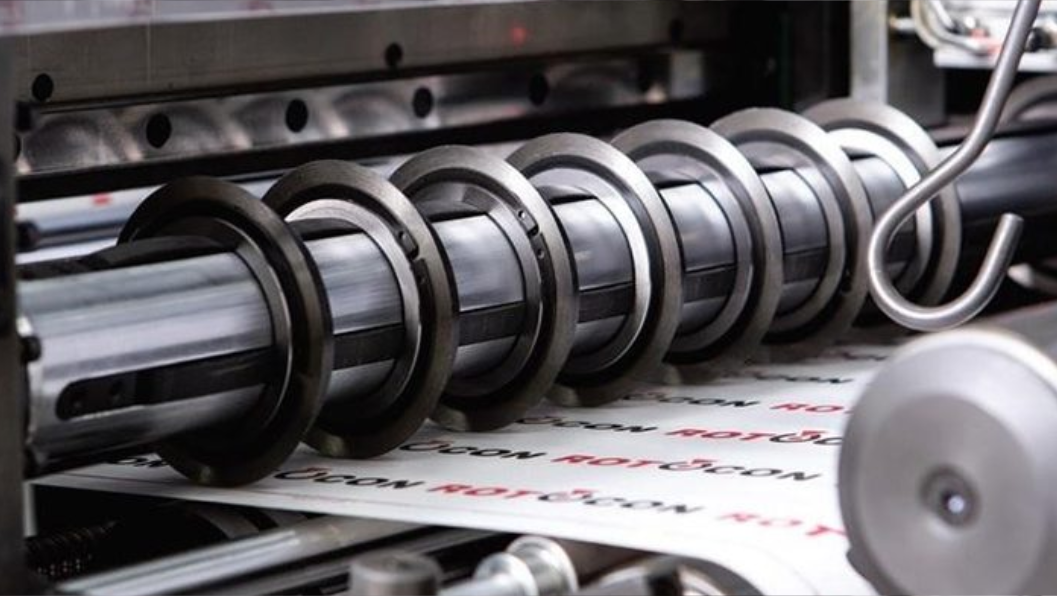
The way the blade locks onto the shaft has a huge impact on setup time and cutting stability. The choice depends entirely on your production demands. Think about how often you change jobs. Is your line running the same material for weeks, or are you changing widths multiple times a day? Your answer will point you to the right system.
Comparing Mounting Options
Let's look at the three most common systems. I helped a large packaging converter, who was losing hours each week on blade changes, evaluate these options. They ultimately chose a quick-clamping system and it transformed their workflow.
| Method | Best For | Pros | Cons |
|---|---|---|---|
| Press-Fit | High-precision, dedicated setups | Highest stability and rigidity | Difficult and slow to install/remove |
| Taper Lock | General-purpose, versatile lines | Good balance of stability and ease of use | Can be more complex than other systems |
| Quick-Clamping | Frequent changeovers, high-mix lines | Extremely fast and easy to change blades | May offer slightly less rigidity than a press-fit |
Press-Fit Mounting
This method creates a very tight, interference fit. It offers the best possible stability and is ideal for applications where you need the absolute highest precision and don't change blades often.
Taper Lock Systems
Tapered sleeves or bushings are used to lock the knife onto the shaft. As you tighten them, they create a strong, concentric grip. This is a great all-around option that provides excellent stability but is much easier to assemble and disassemble than a press-fit.
Quick-Clamping Structures
These systems use mechanical or pneumatic clamps to quickly lock and unlock the entire set of knives. They are the clear winner for operations where downtime is critical and blade setups are changed frequently. While they might be a larger initial investment, the time saved adds up quickly.
How Can You Ensure A Perfect Fit Before You Even Buy A Blade?
Are you tired of buying blades that just don't fit right? It is a frustrating and expensive guessing game that leads to returns, downtime, and production delays.
You can ensure a perfect fit with clear, proactive communication. Give your blade supplier the exact shaft specifications from your machine manufacturer, including shaft diameter, tolerances, and perpendicularity measurements. This collaboration is the key to success.
The single biggest mistake I see is a lack of communication. A blade manufacturer can make a perfectly good knife, but if it’s made to the wrong specifications, it’s useless to you. The solution is to act as the bridge between your machine supplier and your blade supplier. This is a core part of my job at PASSION. I always tell my clients, "Let's work together to get this right from the start."
A Simple 3-Step Process For A Perfect Fit
I recently worked with a client, Mr. Becker in Poland, who was having persistent vibration issues with his new slitting line. We implemented this simple process. By working directly with his machine supplier, we confirmed the exact shaft dimensions and our production team manufactured a set of blades with a matching H6 tolerance. The new blades mounted perfectly, and the vibration issues disappeared completely. You can do the same.
Step 1: Get Shaft Specifications From The OEM
Contact the manufacturer of your slitting machine. Ask them for the technical drawing of the knife shaft. You need to know the exact outer diameter and its tolerance (e.g., C6). You should also ask for the dimensions of the shoulder, center, and drive sides of the shaft, as well as the shaft's perpendicularity.
Step 2: Share These Details With Your Blade Manufacturer
Provide all of this information to your blade supplier. At PASSION, when a customer gives us these details, we can cross-reference them with our own data and experience to engineer a blade with the perfect inner diameter and H6 tolerance.
Step 3: Clean And Inspect Before Mounting
Once you receive your new blades, preparation is the final step. Before installation, always make sure the knife shaft and the inner bore of the blade are perfectly clean. Any dust, oil, or tiny burrs can ruin the precision fit you worked so hard to achieve. A clean surface ensures a smooth, accurate installation.
Conclusion
A precise match between your slitting knife and shaft is vital. It guarantees stability, improves cut quality, and extends tool life, boosting your entire production efficiency.
Learn about knife shafts to improve your slitting process and avoid common issues. ↩
Understanding inner diameter is crucial for achieving the right fit and performance. ↩
Learn about outer diameter to ensure compatibility and efficiency in your setup. ↩
Explore tolerance standards to ensure precision in your manufacturing processes. ↩
Understanding mounting methods can help you choose the best option for your needs. ↩
Explore C6 tolerance to understand its role in achieving a precise fit. ↩
Learn about H6 tolerance to ensure precision in your blade manufacturing. ↩
Discover how runout impacts your cutting process and how to minimize it. ↩
Learn about press-fit to understand its advantages and applications in precision cutting. ↩
Explore taper lock systems for a balance of stability and ease in blade changes. ↩
Find out how quick-clamping can save time and improve workflow in your operations. ↩