Skip to content
Tired of rough cuts, burrs, and wasted material? These problems increase costs and slow you down. The secret to a perfect cut lies in the ideal shearing process1.
The ideal industrial blade shearing process is a perfect, controlled system. It uses quality blades and precise settings to separate material cleanly, creating smooth surfaces without damaging the part or machine. This achieves fast, accurate, high-quality, and cost-effective production goals.

That sounds great in theory, but what does a "perfect cut" actually look like up close? And how can you tell if your own process is hitting the mark? To really understand this, we need to break down the shearing action2 into its core stages. Let's look at what happens every time a blade meets the material, because the secret to quality is hidden in these details.
What Are The Three Stages Of A Shear Cut?
Ever look at a freshly cut edge and wonder why it looks the way it does? The mix of smooth and rough surfaces isn't random. It’s all explained by the three distinct stages of shearing.
Every shear cut happens in three stages. First is the Plastic Deformation Zone3, where the blade presses and deforms the material. Next is the Burnish Zone4, a smooth, shiny area from the actual cut. Finally, the Fracture Zone5, where the material breaks.

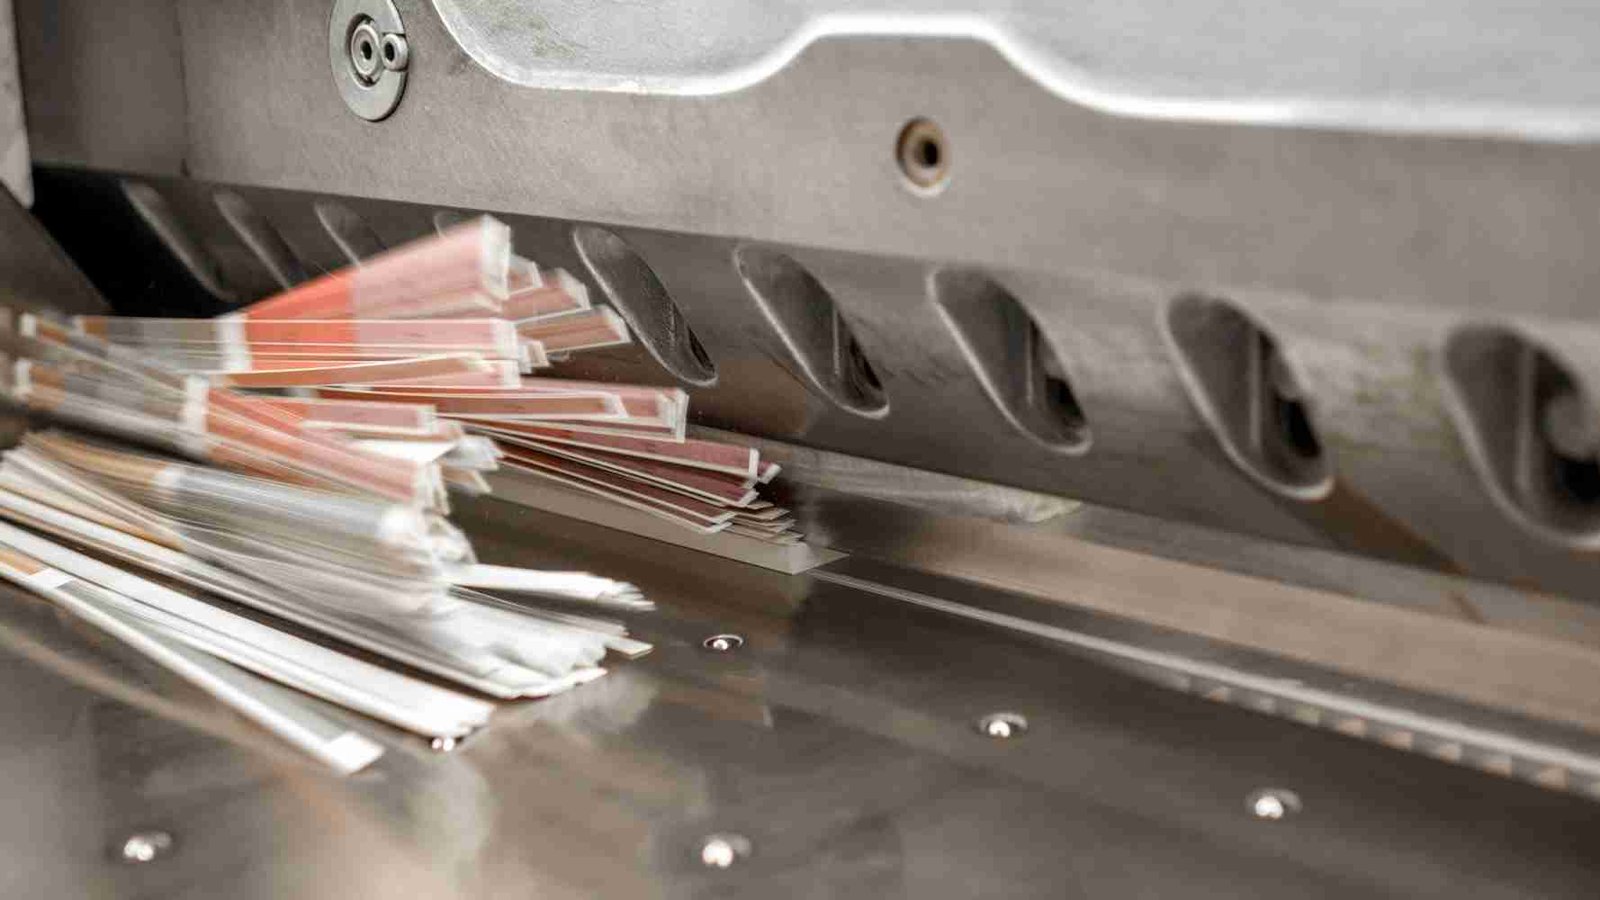
Think about cutting a block of cold butter. The knife glides through, leaving a perfectly smooth, shiny surface. That's what we want in shearing – a high percentage of a smooth "burnish zone." Now, think of splitting a watermelon. The knife starts the cut, but then the melon cracks and fractures open. That rough surface is like the "fracture zone," which we want to minimize in our process. Every cut you make goes through these phases.
1. Plastic Deformation Zone (Rollover)
This is the very beginning. The blade's edge makes contact and pushes down on the material before it starts slicing. This pressure causes the material's top edge to bend or "roll over."
2. Shear Zone6 (Burnish Zone)
As the blade moves deeper, it shears the material. This creates a clean, vertical, and often shiny band right below the rollover7. This is the most important part of the cut.
3. Fracture Zone
Finally, the stress becomes too much. The material breaks along the shear line. This zone is typically rougher than the burnish zone. At the very bottom, a burr can form.
| Stage | Description | Visual Cue | Quality Indicator |
|---|---|---|---|
| Rollover | Blade presses and deforms the material | Rounded top edge | Smaller is better |
| Burnish Zone | Blade shears the material cleanly | Smooth, shiny vertical band | A larger percentage is better |
| Fracture Zone | Material breaks under stress | Rough, textured surface | Flatter and smaller is better |
How Can You Identify A High-Quality Shear Cut?
You make thousands of cuts, but do you know what a truly perfect one looks like? Small flaws can cause big problems later. Learning to spot key quality signs is essential.
A high-quality shear cut has minimal rollover and burrs. The most important feature is a large, dominant burnish zone, which should be smooth and shiny. The fracture zone should be small and flat. The entire workpiece must be dimensionally accurate.

The goal is always to maximize the burnish zone and minimize everything else. A cut edge with a 70% burnish zone is much better than one with only 20%. I remember a client, a metal fabrication company in Germany. They were struggling with parts that wouldn't fit together properly during assembly. I examined their sheared edges via video. The rollover was huge, and the fracture zone was angled and rough. This meant their final product dimensions were inconsistent. Their poor cut quality was the source of their production headache. We identified the key signs they needed to look for.
Key Quality Indicators
- High Burnish-to-Fracture Ratio8: The smooth, shiny part should make up most of the edge.
- Minimal Rollover and Burr: The top and bottom edges should be clean and sharp, not rounded or jagged.
- Dimensional Accuracy: The finished part must match the exact required measurements, without any deviation.
- No Deformation: The part should be perfectly flat, without any twist, bow, or camber.
By focusing on these points, Metform GmbH could finally diagnose their issues and start working toward a solution.
What Factors Influence Shearing Quality The Most?
Are you tired of guessing how to fix bad shear cuts? Changing settings randomly wastes time and material. The solution is simpler: focus on three key factors that control cut quality.
Three main factors control shearing quality: the blade itself (its material, sharpness, and geometry), the blade clearance (the gap between the upper and lower blades), and the rake angle9 (the angle of the upper blade). Getting these right is essential.
Getting the perfect cut isn't magic; it's a science of controlling variables. With another client, a plastic film manufacturer in Brazil, the issue was excessive burrs and blades chipping frequently. We found their problems were rooted in these three areas. They were using the wrong blade material for their specific plastic, their blade clearance was set too wide, and they weren't sharpening blades on a proper schedule. Adjusting just these few things made a huge difference.
Key Shearing Parameters
- Blade Quality: The first step is always the tool. A blade made from high-quality steel from a trusted supplier like PASSION, sharpened to the correct angle, is non-negotiable.
- Blade Clearance: This is the space between your top and bottom blades. Too much clearance causes a large rollover and fracture. Too little clearance causes secondary shearing and premature blade wear.
- Rake Angle: This is the tilt of the top blade. A higher angle requires less force but can cause twisting in thin materials. A lower angle keeps parts flatter but requires more force.
| Factor | Effect if Incorrect | How to Optimize |
|---|---|---|
| Blade Sharpness | Dull blades cause large rollovers and burrs. | Implement a regular inspection and maintenance schedule. |
| Blade Clearance | Too wide causes a rough fracture; too tight causes blade wear. | Adjust based on material type and thickness. |
| Rake Angle | Too high can twist the part; too low requires high force. | Balance cutting force and part flatness for your material. |
Conclusion
The ideal shearing process is achievable. By understanding the stages of a cut, knowing what quality looks like, and controlling key factors, you can achieve precise and efficient production.
Explore this resource to discover expert insights and techniques that can enhance your shearing process efficiency and quality. ↩
Understanding shearing action can help you refine your cutting techniques for better results. ↩
Discover the significance of the Plastic Deformation Zone in achieving a perfect cut. ↩
Understanding the Burnish Zone can help you identify high-quality cuts and improve your shearing process. ↩
Explore how the Fracture Zone affects cut quality and how to minimize its impact. ↩
Explore this link to understand how the shear zone impacts cut quality and efficiency in industrial applications. ↩
Understanding rollover is crucial for optimizing cut quality and minimizing waste in manufacturing. ↩
Learn why maximizing the Burnish-to-Fracture Ratio is crucial for achieving superior cut quality. ↩
Discover how the rake angle affects cutting efficiency and part quality. ↩