Skip to content
Struggling with poor cuts and breaking blades? Wasting time and money on replacements feels frustrating. Selecting the right blade is simpler than you think and ensures perfect results.
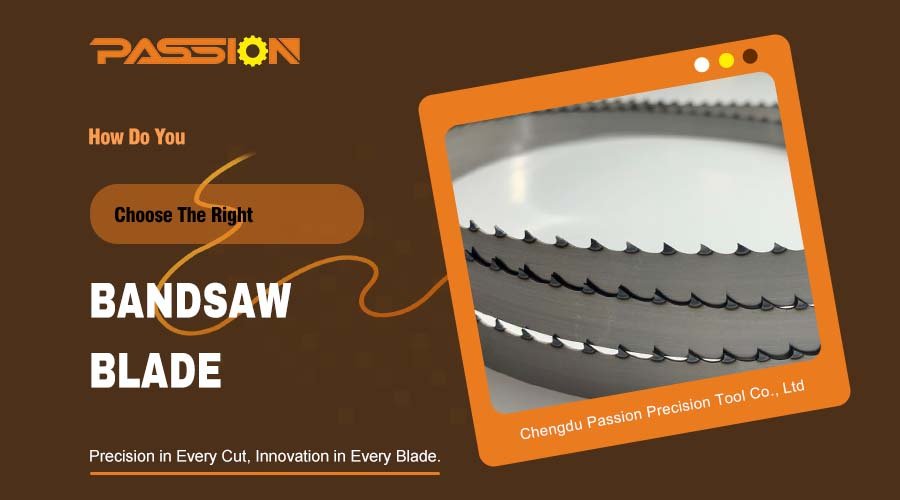
To choose the right bandsaw blade, first match the length, width, and thickness to your saw machine's specifications. Then, select the tooth form based on the material you're cutting. Finally, determine the tooth pitch (TPI) based on the material's thickness for optimal performance.
In my work helping businesses optimize their cutting processes, this is one of the most common questions I get. A bandsaw blade might seem like a simple component, but the right choice can dramatically boost your productivity and the wrong one can cause endless headaches. Many people feel overwhelmed by the options, but it really boils down to three easy steps. Once you understand them, you will feel confident every time you order a new blade. Let's walk through this process together, and I promise it will become second nature.
How Do You Determine The Right Blade Dimensions?
Is your new blade too long, short, or wide for your machine? This common mistake can damage both your blade and your saw. Getting the dimensions right from the start is crucial.
Check your bandsaw machine's manual for the required blade length and the range of acceptable widths. The blade's thickness is typically pre-determined by its width, with wider blades being thicker for added strength and stability. Always start with your machine's specifications for a perfect fit.
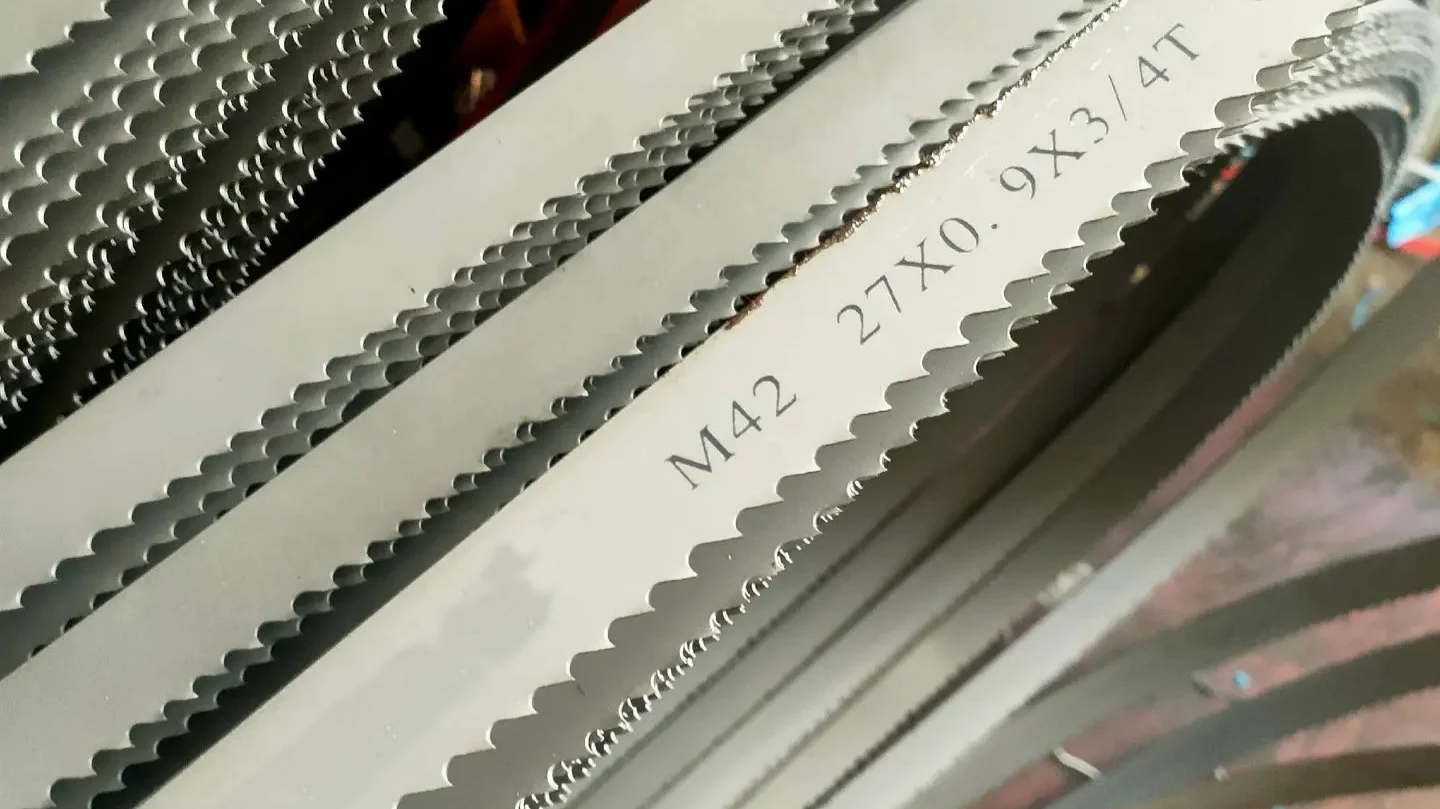
The basic dimensions of your blade are non-negotiable. They are dictated entirely by your bandsaw machine. Trying to force a blade that doesn't fit is a recipe for disaster. I remember a case with a client, let's call him Marco from a fabrication shop in Italy. He was frustrated because his new blades were vibrating excessively and producing wavy cuts. When we talked, I found out he was buying the narrowest blades available to save costs. However, his machine was designed for a wider, thicker blade to properly tension and support it for the heavy steel beams he was cutting. Once we switched him to the correct width and thickness recommended in his machine's manual, the problem vanished. His cuts were straight, and the blade life improved dramatically. It's a simple first step, but it's the foundation for everything else.
Blade Dimensions Breakdown
| Dimension | How to Determine It | Why It Matters |
|---|---|---|
| Length | Check the machine manufacturer's manual or specifications tag. | An incorrect length will either not fit on the machine or will be impossible to tension correctly. |
| Width | The manual specifies a range. Wider blades for straight cuts, narrower for contour cuts. | Width provides beam strength. A wider blade resists bending, ensuring a straighter cut in large material. |
| Thickness | Determined by the blade width. Wider blades are thicker. | Provides blade durability and fatigue resistance. An incorrect thickness can lead to premature snapping. |
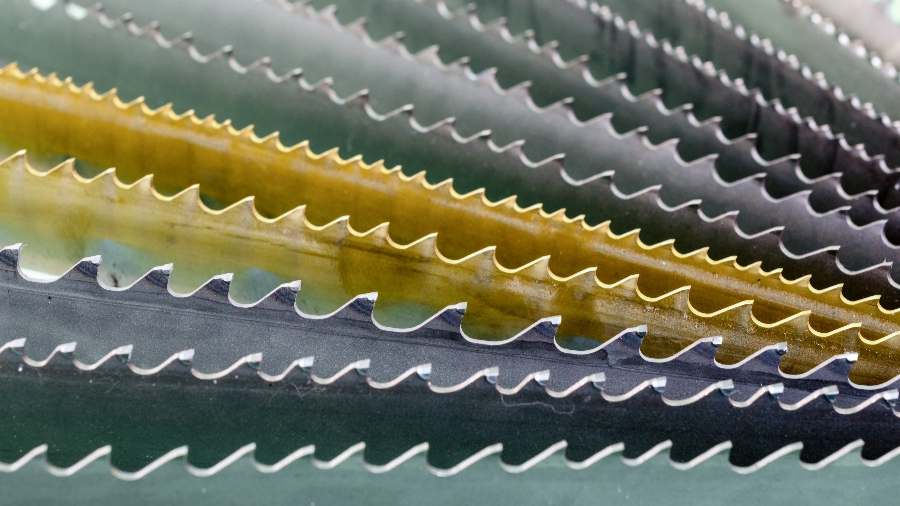
Which Tooth Form Is Best For Your Material?
Are your cuts rough or slow, even with a new blade? You might be using the wrong tooth form for your material. This can ruin your workpiece and wear out your blade prematurely.
Select your tooth form based on what you are cutting. Use a Standard tooth (N-Tooth) for general-purpose cutting of solid materials. For hollow shapes like pipes and profiles, a Hook-style tooth (P-Tooth) is much more efficient and prevents snagging.
The shape of the tooth is designed for specific jobs. Using the wrong one is like trying to use a screwdriver to hammer a nail. It might work eventually, but the result will be poor, and you'll damage your tool. Each tooth shape interacts with the material in a unique way. Some are designed for aggressive, fast cutting in soft materials, while others are built for strength and durability in hard, dense alloys. Understanding the basic types will make your decision easy. It's about matching the tool to the task to get the cleanest, most efficient cut. Choosing the right tooth form is a huge step toward mastering your cutting operations.
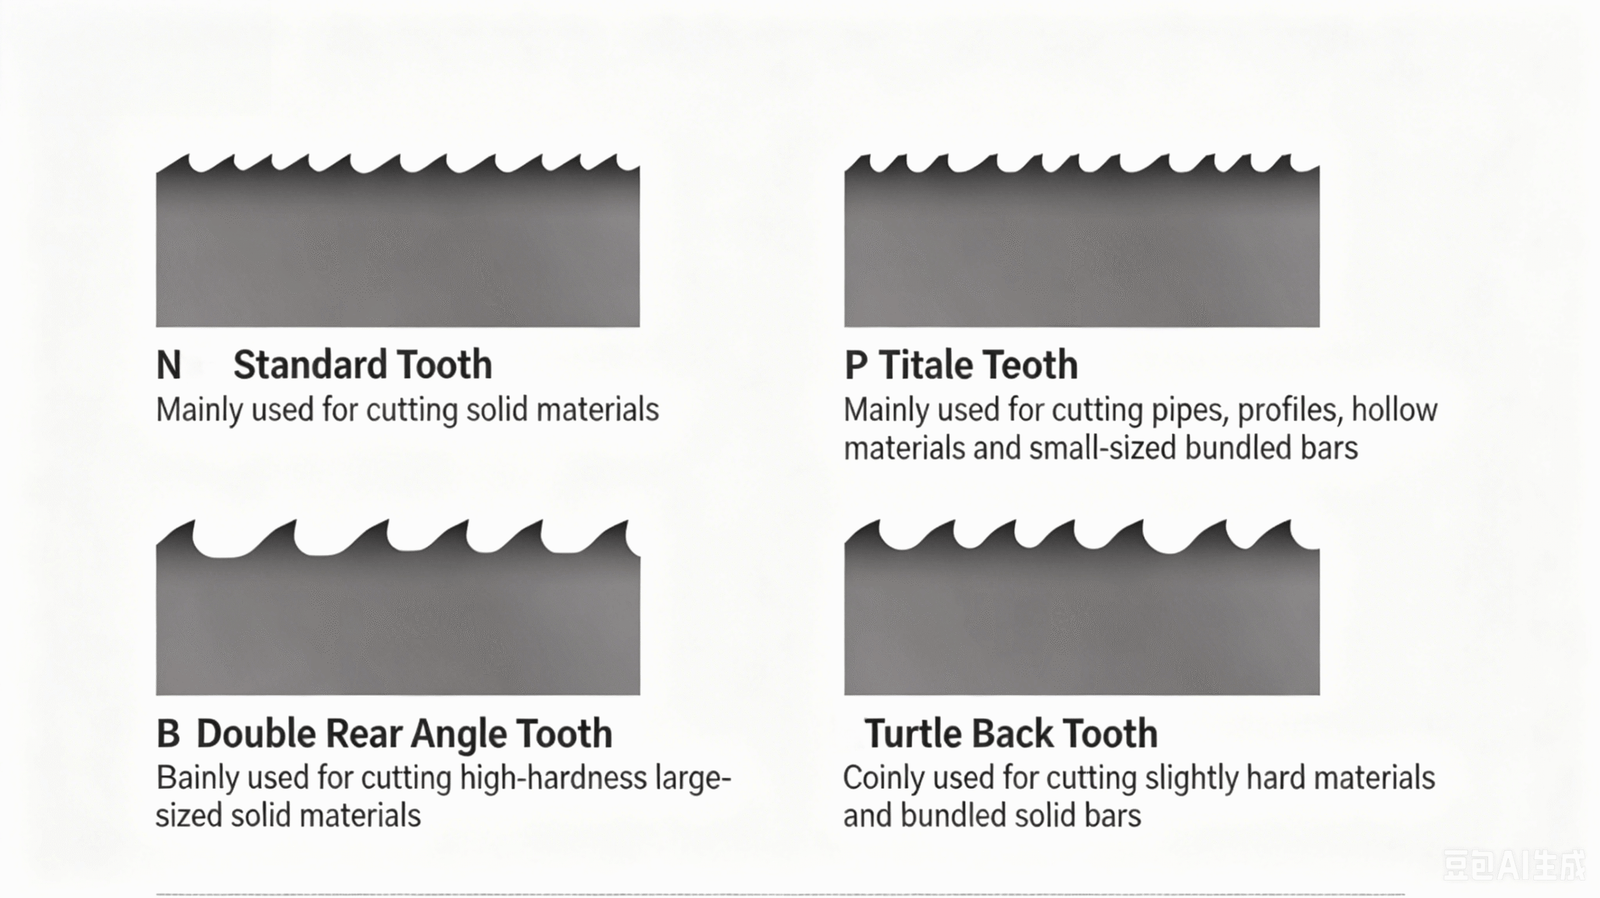
N-Tooth (Standard Tooth)
This is the workhorse for general cutting. It typically has a 0-degree rake angle, making it very strong and durable. It’s ideal for cutting solid carbon steel, tool steel, and other ferrous metals. It provides a good surface finish and has a long life in routine applications.
B-Tooth (Double Back Angle Tooth)
When you're cutting very hard or large solid materials, you need a tooth with extra strength. The B-Tooth has reinforced back angles that provide superior durability and resistance to tooth stripping. This design is perfect for tough alloys and large-diameter solids where cutting forces are high.
P-Tooth (Anti-Tension Tooth)
This tooth is my go-to recommendation for cutting tubes, pipes, and structural profiles. It features a positive rake angle that actively pulls the blade into the cut. This "hooking" action is very efficient in hollow materials. It also helps prevent the blade from snagging on the edges of thin walls, which is a common problem with other tooth types. We also recommend it for bundled small-diameter rods.
T-Tooth (Turtleback Tooth)
The T-Tooth has a unique, fully rounded back, which gives it exceptional strength to withstand shock and impact. This makes it the perfect choice for interrupted cuts. Think about cutting bundles of solid rods. The blade is constantly entering and exiting the material, which creates a lot of impact. The T-Tooth is built to handle this abuse without breaking. It's also great for slightly harder materials.
What Is The Correct Tooth Pitch For Your Cut?
Ever had your blade's teeth clog up with chips or strip off completely? An incorrect tooth pitch is often the culprit. This leads to slow, inefficient cutting and a short blade life.
Tooth pitch, or Teeth Per Inch (TPI), depends on the thickness of your material. The rule of thumb is to have 3 to 24 teeth in the cut at all times. Use a lower TPI (coarser pitch) for thick materials and a higher TPI (finer pitch) for thin materials.
Tooth pitch is simply the number of teeth in one inch (25.4mm) of the blade. This might be the most critical factor for cutting efficiency. If the pitch is too coarse (low TPI) for a thin material, the teeth can straddle the workpiece, leading to violent snagging and stripped teeth. If the pitch is too fine (high TPI) for a thick material, the small gullets between the teeth will clog with chips. This prevents the teeth from cutting, generates a lot of heat, and can cause the blade to fail. I worked with a customer in Mexico. 'Aceros del Norte' was cutting thin-walled steel tubes for furniture. Their coarse-pitch blades were grabbing and tearing the tubes, creating a lot of scrap. We switched them to a finer pitch blade. This simple change ensured more teeth were engaged in the cut at all times. The result was a beautiful, smooth finish and almost zero scrapped parts. The "3 to 24 teeth" rule is your best guide.
Matching Material Thickness to TPI
| Material Thickness | Recommended TPI | Why It Works |
|---|---|---|
| Under 5mm (Thin-walled tube) | 14/18, 10/14 | Fine pitch prevents snagging and ensures at least 3 teeth are in the cut. |
| 6mm to 12mm (Plate, small solids) | 8/12, 6/10 | A good middle ground for chip removal and a smooth finish. |
| 13mm to 30mm (Solid bar stock) | 5/8, 4/6 | Coarser pitch provides larger gullets for effective chip removal in thicker material. |
| 31mm to 80mm (Large solids) | 3/4, 2/3 | Very coarse pitch for aggressive material removal in very thick cross-sections. |
| Over 80mm (Very large blocks) | 2/3, 1.4/2 | The coarsest pitches for the largest materials, ensuring chips don't clog the blade. |
Conclusion
Choosing the right bandsaw blade isn't complex. By matching dimensions, tooth form, and pitch to your job, you guarantee precision, efficiency, and longer blade life every single time.